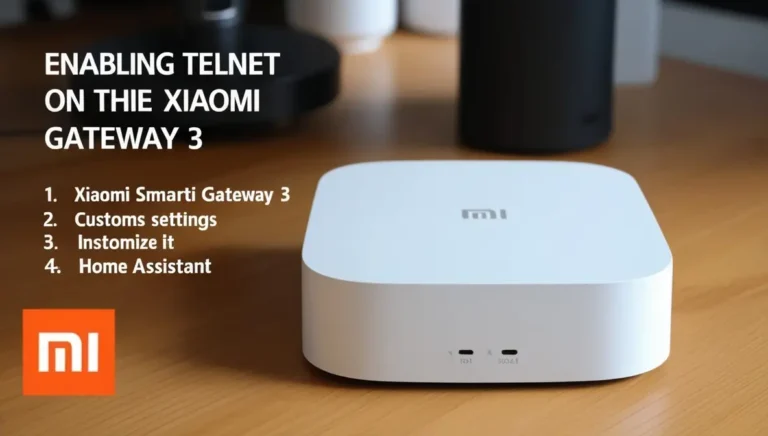
How to Enable Telnet on Xiaomi Gateway 3.Xiaomi Gateway 3 is a popular smart home hub that connects various devices and sensors, making it an essential part of any smart home setup. Enabling Telnet on this gateway allows you to access advanced features, customize settings, and integrate it with platforms like Home Assistant. This guide walks you through enabling Telnet on the Xiaomi Gateway 3 in a step-by-step manner.
Why Enable Telnet on Xiaomi Gateway 3?
Telnet is a protocol that provides a way to remotely access and manage devices over a network. By enabling it on the Xiaomi Gateway 3, you unlock several benefits:
- Access to Advanced Features: Customize settings that aren’t available through the default interface.
- Home Automation Integration: Telnet allows deeper integration with platforms such as Home Assistant.
- System Monitoring and Troubleshooting: Get access to system logs and real-time device statuses.
Prerequisites
Before starting, ensure you have the following:
- Xiaomi Gateway 3: Verify the model number to confirm compatibility.
- Stable Wi-Fi Connection: Ensure both the gateway and your computer are connected to the same network.
- Smartphone with Mi Home App: This app is essential for retrieving the device token.
- A Computer: Required for executing Telnet commands.
Step 1: Retrieve the Device Token
The gateway’s token is crucial for enabling Telnet. There are two main ways to retrieve it:
Using the Mi Home App
- Open the Mi Home app and log in.
- Navigate to your Xiaomi Gateway 3 and access its settings.
- Find the “Network Information” or “Device Information” section.
- Note down the 32-character token.
Using a Toolkit
If the app does not display the token:
- Download and install a compatible toolkit on your computer.
- Log in with your Xiaomi account credentials.
- Select the gateway device and retrieve the token displayed in the software.
Step 2: Enable Telnet on the Gateway
With the token ready, proceed to enable Telnet.
Option 1: Command-Based Activation
- Open a Telnet activation toolkit on your computer.
- Enter the gateway IP address in the appropriate field.
- Use the
set_ip_infocommand with the following parameters:json{"ssid":"\"\"","pswd":"123123 ; passwd -d admin ; echo enable > /sys/class/tty/tty/enable; telnetd"}
- Execute the command. If successful, the gateway should respond with
["ok"].
Option 2: Physical Button Method
- On the gateway, press its physical button in the following sequence:
- Press it 5 times, then 2 times, and repeat this pattern five times.
- Observe the LED indicator. A solid blue light indicates that Telnet has been successfully enabled.
Step 3: Connect to the Gateway via Telnet
Once Telnet is activated:
- Open a command-line interface (CLI) or terminal on your computer.
- Use the following command to connect to the gateway:
bash
telnet [Gateway_IP_Address]
Replace
[Gateway_IP_Address]with the actual IP address of the gateway. - When prompted for credentials, use:
- Username: admin
- Password: admin
Step 4: Advanced Configuration (Optional)
After enabling Telnet, you can perform advanced configurations, such as installing custom firmware or enabling additional features.
Installing Custom Firmware
Custom firmware can enhance the gateway’s functionality and provide better integration with smart home platforms.
- Log in via Telnet as described above.
- Execute the following commands to download and install custom firmware:
bash
wget -O /tmp/custom_firmware.sh "http://your-link-here"

chmod +x /tmp/custom_firmware.sh

sh /tmp/custom_firmware.sh
- Follow the on-screen prompts to complete the process.
Comparison of Telnet Activation Methods
Here’s a comparison of the different methods to enable Telnet on the Xiaomi Gateway 3:
| Method | Ease of Use | Success Rate | Notes |
|---|---|---|---|
| Command-Based Activation | Moderate | High | Requires a computer and some technical knowledge. |
| Physical Button Method | Easy | Medium | May not work on all firmware versions. |
Troubleshooting Common Issues
Issue 1: Telnet Connection Refused
- Cause: Telnet might not be activated or the gateway’s IP is incorrect.
- Solution: Double-check the activation process and verify the IP address.
Issue 2: Incorrect Credentials
- Cause: Default username or password may have been changed.
- Solution: Reset the gateway to factory settings and try again.
Issue 3: Command Execution Errors
- Cause: Incorrect syntax in the command.
- Solution: Carefully re-enter the command and ensure there are no extra spaces.
Safety Considerations
- Backup Configuration: Before making any changes, back up your gateway settings in case you need to restore them.
- Secure Network: Ensure your Wi-Fi network is secure to prevent unauthorized access.
- Monitor Firmware Updates: Some updates may disable Telnet or alter its behavior. Test your setup after each update.
Conclusion
Enabling Telnet on your Xiaomi Gateway 3 opens the door to a world of customization and smart home integrations. By following the steps outlined in this guide, you can easily activate Telnet and start exploring advanced features. Always proceed carefully, especially when executing commands or installing custom firmware, to avoid potential issues.

