
Drawing a bow can be a fun and rewarding experience, whether you’re an aspiring artist or simply looking for a new hobby. In this guide, we’ll walk you through the basics of drawing different types of bows—from archery bows to decorative ribbon bows. You’ll learn about the essential tools, tips, and techniques to make your drawings realistic and accurate.
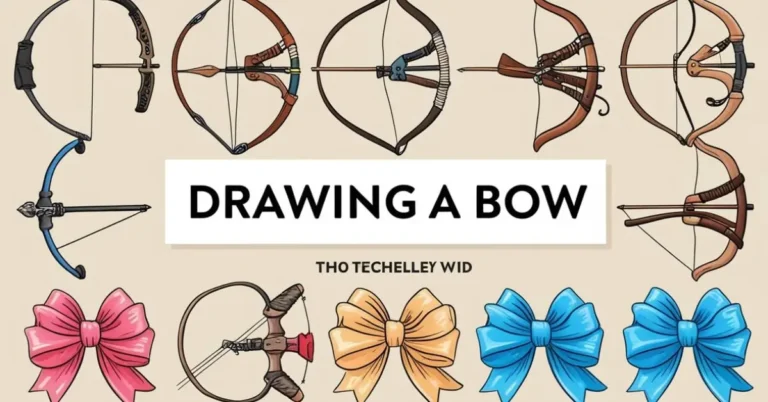
Types of Bows to Draw
- Archery Bows
- Recurve Bow
- Longbow
- Compound Bow
- Crossbow
- Decorative Bows
- Ribbon Bows
- Gift Wrapping Bows
- Bow Tie
Materials You Will Need
- Drawing Paper: Choose quality drawing paper with a smooth surface.
- Pencils: Start with HB pencils for sketching, then add 2B or 4B for darker outlines.
- Erasers: A kneaded eraser works well for removing pencil marks.
- Ruler: Helps keep lines straight, especially for the bow’s limbs.
- Colored Pencils or Markers (Optional): Useful for adding color to your bow drawings.
Step-by-Step Guide: How to Draw an Archery Bow
Step 1: Sketch the Basic Shape
Begin with a straight, vertical line for the bow’s spine. This line serves as a guideline for the curvature of the bow.
Step 2: Draw the Limbs
On each side of the spine, draw two curved lines that mirror each other, creating the classic bow shape. Be mindful of the proportions, as archery bows have specific limb sizes that are typically longer than the handle.
Step 3: Add Details
Draw the handle in the middle and add details, like the grip and nock points where the string connects.
Step 4: Draw the String
Use your ruler to draw a straight line for the string, connecting the tips of each limb. The string should be taut and straight.
Step 5: Shading and Texture
To add dimension, use your pencil to shade areas that would be in shadow. Darken areas around the grip and the tips for a more realistic look.
How to Draw a Decorative Ribbon Bow
Step 1: Start with the Center Knot
Draw a small oval or circle in the middle of your paper. This will be the center of the bow.
Step 2: Draw the Loops
On each side of the knot, draw two large loops extending outward. These loops should be slightly rounded and symmetrical.
Step 3: Add the Tails
Beneath the knot, draw two ribbon tails hanging down. Make them as long as you’d like and add slight curves to create a natural look.
Step 4: Detail and Shading
Add texture to the ribbon by drawing small creases near the knot and loops. Lightly shade the edges to give the bow a 3D effect.
Tips for Drawing Realistic Bows
- Practice Proportions: Spend time observing real bows to understand their proportions and structure.
- Use Reference Images: This helps with accuracy and can inspire different styles.
- Experiment with Different Media: Try using charcoal for a more textured look or colored pencils to bring your bow to life.
- Practice Shading: To make your drawing look realistic, practice shading techniques to show light and shadow.
- Focus on Details: Small details, like the texture of the ribbon or the grip on a bow, can make a big difference in the final result.
Conclusion
Drawing a bow takes patience and practice, but with the right techniques, anyone can master it. Whether you’re sketching a simple ribbon or a detailed archery bow, these step-by-step instructions will help you improve your drawing skills and create beautiful, realistic bows. So grab your sketchbook, start practicing, and enjoy the journey of bringing these classic shapes to life on paper.